Setting Up and Running a Cluster
💰 Feature available with subscription to Yucca Enterprise
Introduction
This guide describes how to set up a Yucca cluster with 3 nodes. You will need to have Yucca and Postgres installed, as cluster mode only works with this DB. You'll also need a license for the required number of nodes.
Launch
To start Yucca in cluster mode, you need to enable the mode itself and specify the addresses through which servers will communicate with each other. We need to define the following parameters:
--cluster=true- Enables cluster mode.--cluster-advertise-address=127.0.0.1:9941- Specifies the address at which cluster members can reach this server.--cluster-listen-address=:9941- Specifies the port to listen for requests from cluster members.
Parameters can also be defined via a configuration file or environment variables
For example, I will run everything locally on one computer, but in a production environment, these would be different physical servers.
Note that when working on one node, the servers must have different state_dir,
in this directory, a file cluster_node_id will be created containing a unique identifier of the server in the cluster.
Do not delete or change this file. By this number, the server identifies itself in the cluster.
If you delete it, the server will try to join the cluster as a new node, and all previously configured cameras will be ignored.
When transferring a cluster node to different hardware, be sure to transfer this file as well.
Let's start the first Yucca node in the cluster:
/opt/yucca/yucca server \
    --data-dir=/opt/yucca/data/cluster/data1 \
    --database-type="postgres" \
    --telemetry=false \
    --smtp-server=false \
    --cluster=true \
    --cluster-advertise-address=127.0.0.1:9941 \
    --cluster-listen-address=0.0.0.0:9941 \
    --log-level=debug \
    --web.listen-address=0.0.0.0:9911
Second Yucca instance in the cluster:
/opt/yucca/yucca server \
    --data-dir=/opt/yucca/data/cluster/data2 \
    --database-type="postgres" \
    --telemetry=false \
    --smtp-server=false \
    --cluster=true \
    --cluster-advertise-address=127.0.0.1:9942 \
    --cluster-listen-address=0.0.0.0:9942 \
    --log-level=debug \
    --web.listen-address=0.0.0.0:9912
Third Yucca instance in the cluster:
/opt/yucca/yucca server \
    --data-dir=/opt/yucca/data/cluster/data3 \
    --database-type="postgres" \
    --telemetry=false \
    --smtp-server=false \
    --cluster=true \
    --cluster-advertise-address=127.0.0.1:9943 \
    --cluster-listen-address=0.0.0.0:9943 \
    --log-level=debug \
    --web.listen-address=0.0.0.0:9913
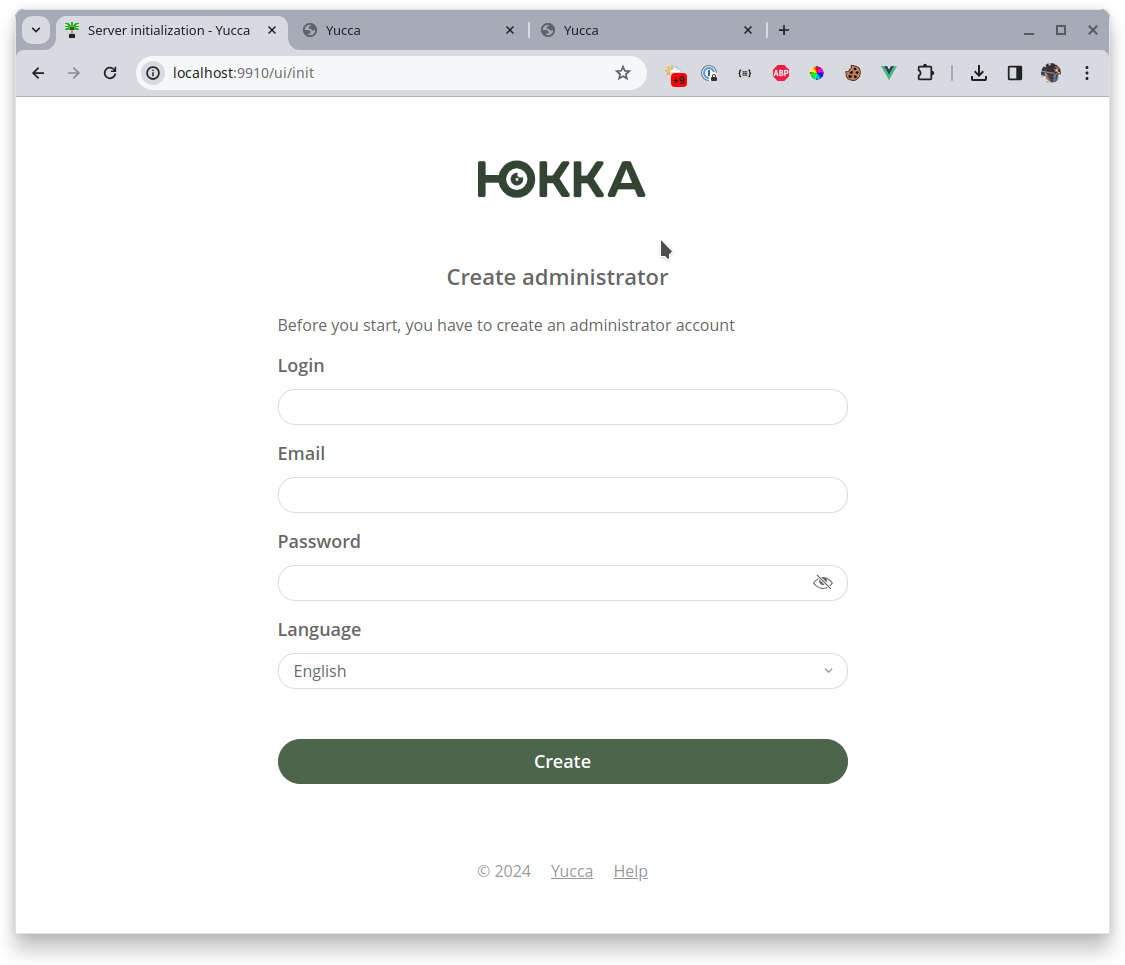
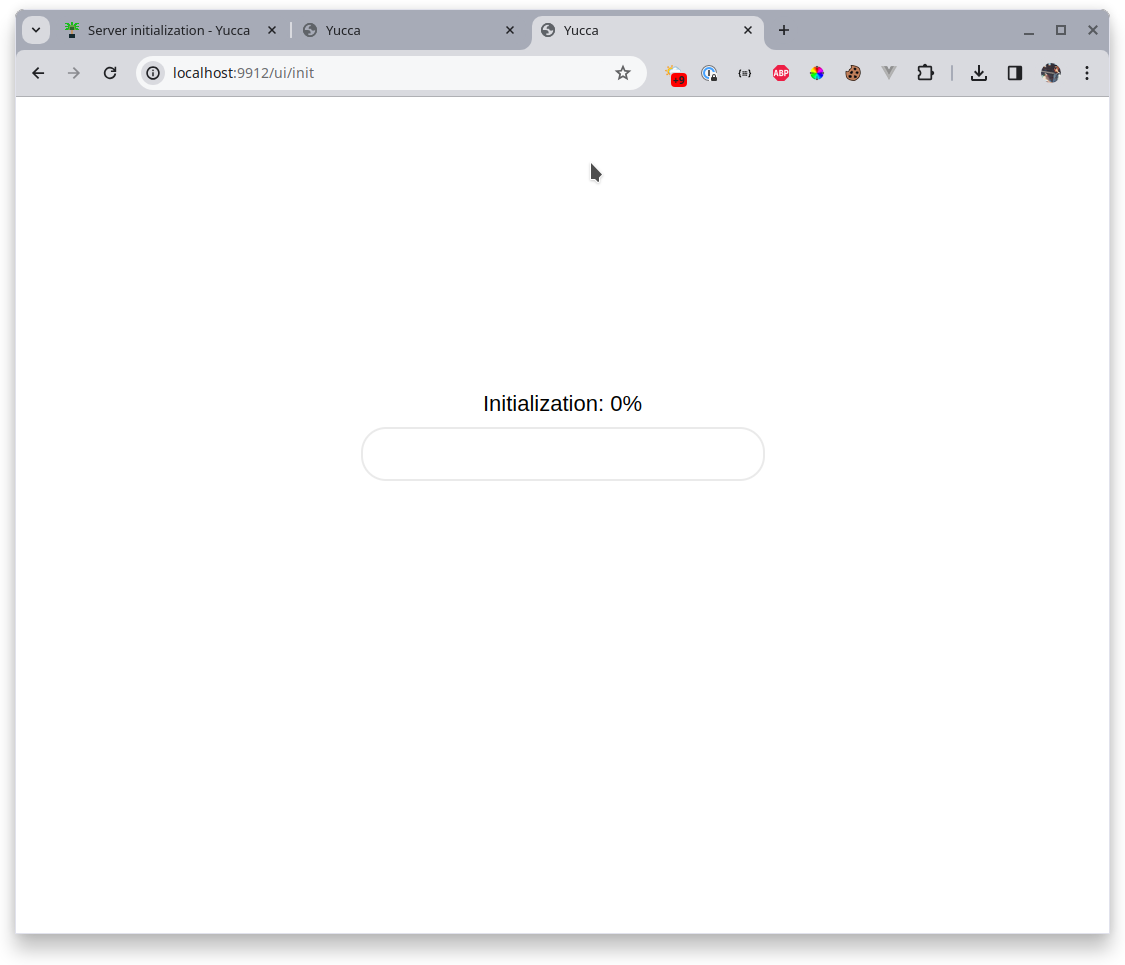
Next, open the interface of all 3 servers. We will see the database initialization page on one of the servers, which becomes the leader. Leader is a special role of a server in the cluster; it is responsible for many operations and statuses in the cluster, while being just another participant, placing cameras, and so on. If the current leader becomes unavailable, someone else will immediately take its place. Thus, there is always a leader in the cluster. All other nodes are participants or pretenders and wait for the leader to allow them to join the cluster.
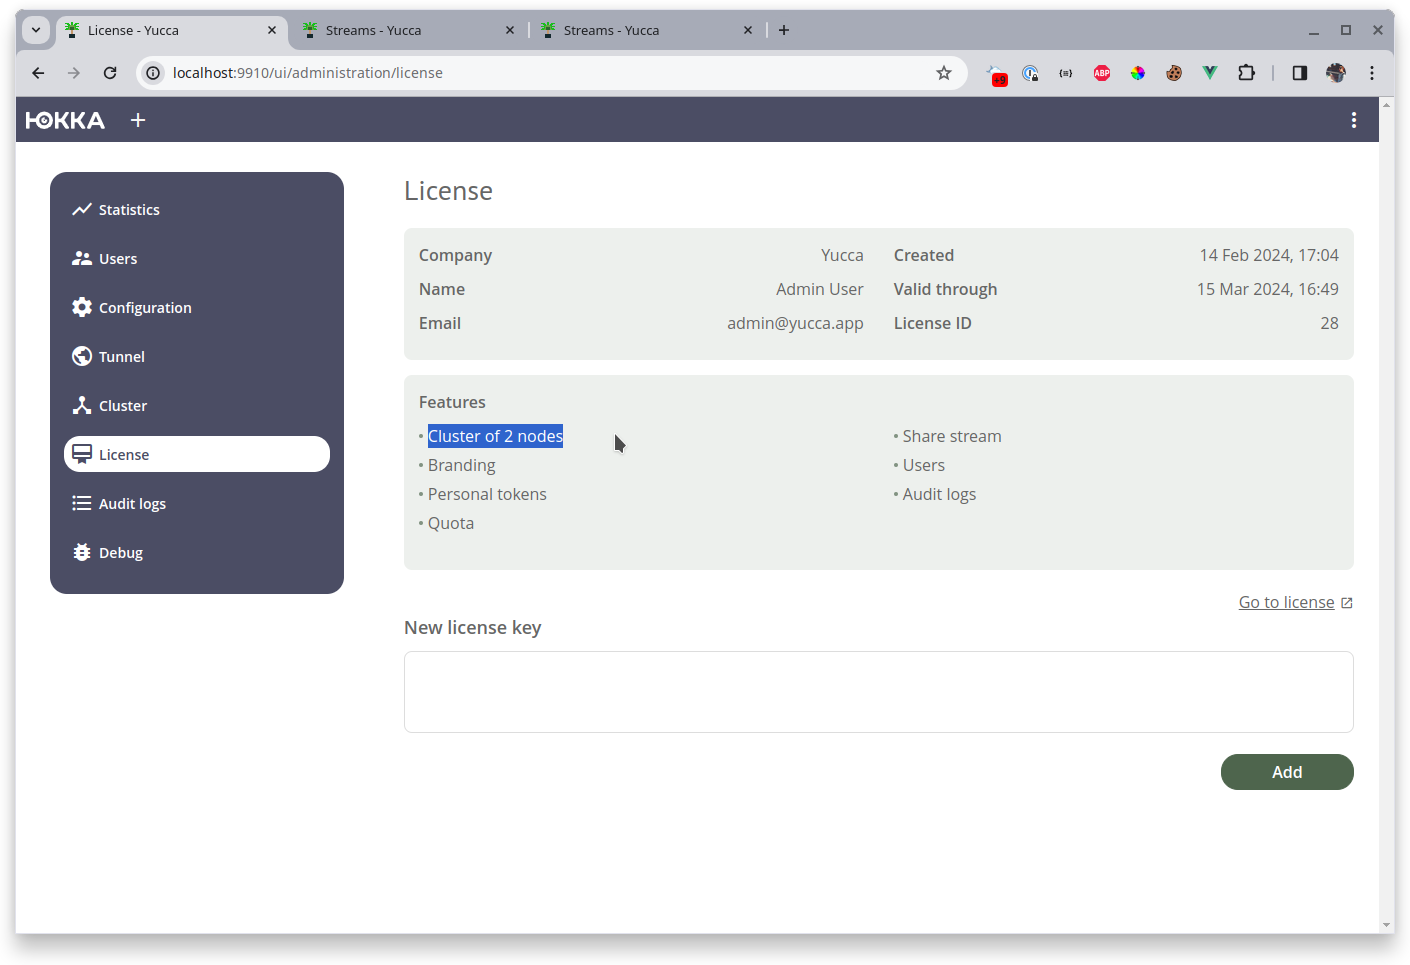
After initialization, add the license:
Note that I specified a license with a cluster for 2 nodes, but started 3 nodes
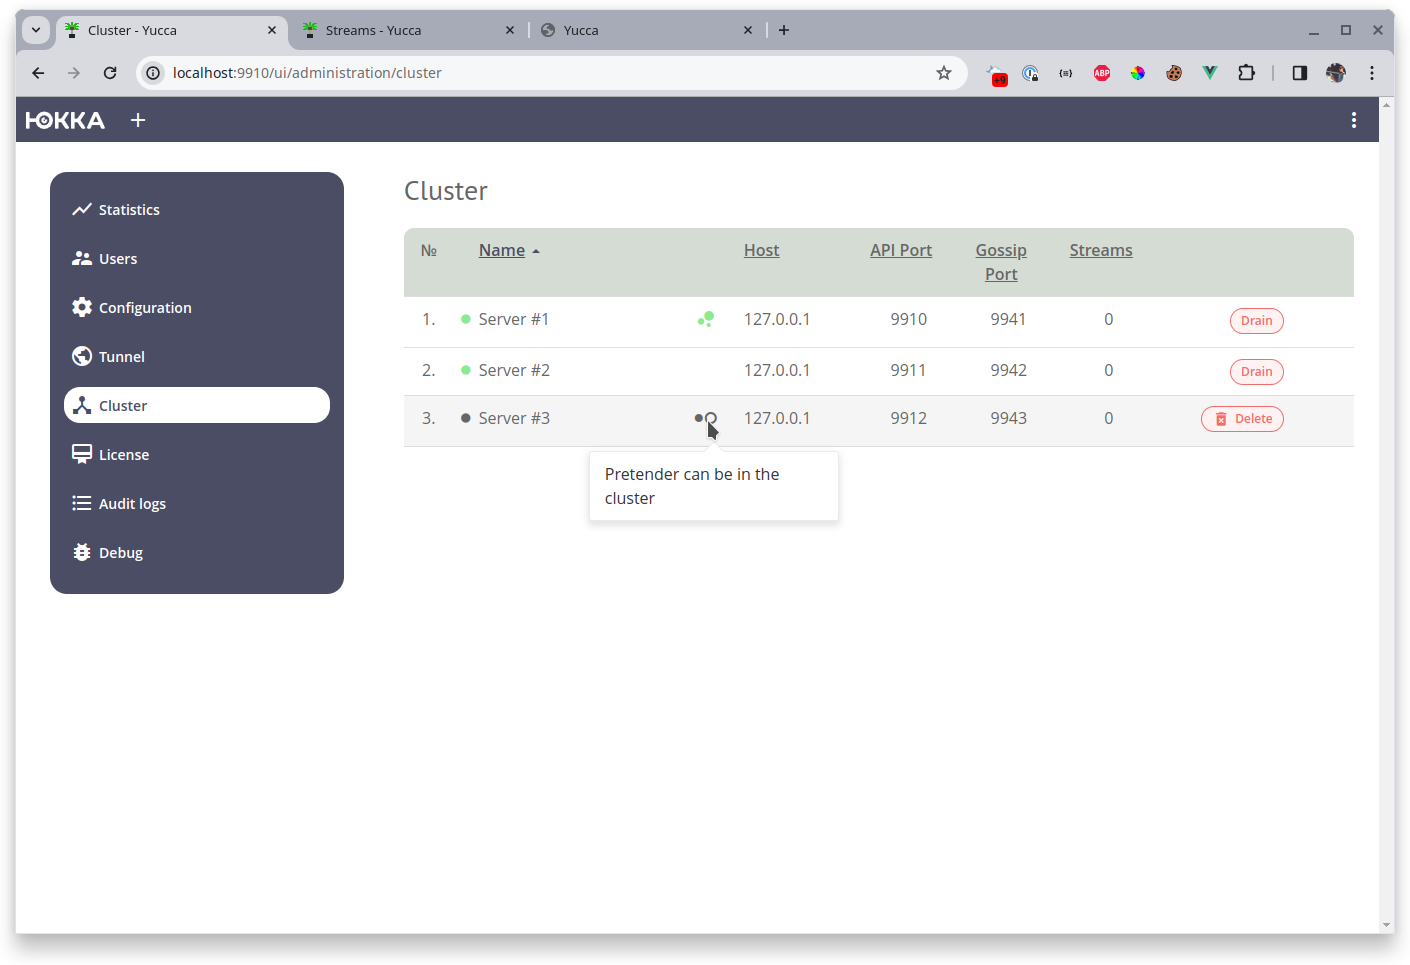
The leader also monitors quotas. If you have a license quota for 2 nodes in the cluster, and you try to add a third one, the new node will be in the status of an pretender to join the cluster but will not be able to join it.
The leader checks quotas not only at startup but also during operation. For example, if you apply a license with a quota of 10 nodes, configure everything, and then apply a license with a quota of 3 nodes, the leader will drain (take out of service) the extra nodes. The choice of extra nodes is random.