Setup Nginx + Let's Encrypt reverse proxy before Yucca
Intro
In this tutorial I will describe how to set up Nginx and issue a Let's Encrypt SSL certificate that will be automatically renewed. Nginx will act as a simple Web server in front of Yucca to terminate the SSL session and redirect from port 80 to 443. Why install Nginx at all, since Yucca itself can terminate SSL and even has flags? This is true, but when you occupy port 443 it will be inaccessible to other software, you will have to use some other one, and there will also be no redirect from HTTP to HTTPS - if this suits you, then you can safely skip the section with installing and configuring Nginx Step 1 and go straight to Step 2 . I will do all the steps on Ubuntu Server 22.04, but everything will work the same on SUSE, CentOS, Fedora, Debian and so on. Unless everyone will have their own package manager, but I hope you can tell the difference between apt and zypper 🙂
Step 0. Preparation
And so we need:
- Host with a white IP address
- Domain or subdomain that looks at this address
- Yucca installed
In the instructions I will use the domain foobar.yuccastream.com, your domain will be different.
nslookup foobar.yuccastream.com
Server:     127.0.0.53
Address:    127.0.0.53#53

Non-authoritative answer:
Name:   foobar.yuccastream.com
Address: 128.140.2.103

So we have Yucca, which is available at http://foobar.yuccastream.com:9910
Step 1. Install and configure Nginx
Install nginx:
sudo apt install nginx
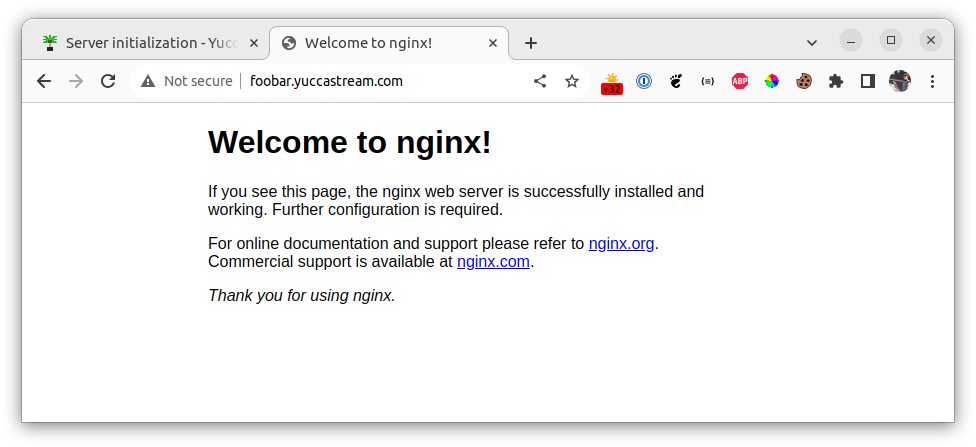
Check http://foobar.yuccastream.com
Next, create a configuration file for Yucca:
sudo nano /etc/nginx/conf.d/yucca.conf
You need to replace the domain foobar.yuccastream.com with your own.
upstream yucca_upstream {
  server 127.0.0.1:9910 fail_timeout=0;
}

server {
  listen 80;
  server_name foobar.yuccastream.com;
  location / {
    proxy_set_header Host $http_host;
    proxy_set_header X-Real-IP $remote_addr;
    proxy_set_header X-Forwarded-For $proxy_add_x_forwarded_for;
    proxy_pass http://yucca_upstream;
  }
}
Save the file and check the configuration is correct:
sudo nginx -t
nginx: the configuration file /etc/nginx/nginx.conf syntax is ok
nginx: configuration file /etc/nginx/nginx.conf test is successful
If everything is correct you will see syntax is ok Update nginx configuration:
nginx -s reload
Refresh the page and see the Yucca web interface http://foobar.yuccastream.com
Step 2. Install Certbot and issue a letsencrypt certificate
Install packages:
sudo apt install certbot python3-certbot-nginx
We issue a certificate for our domain:
You need to replace the domain foobar.yuccastream.com with your own.
sudo certbot --nginx -d foobar.yuccastream.com
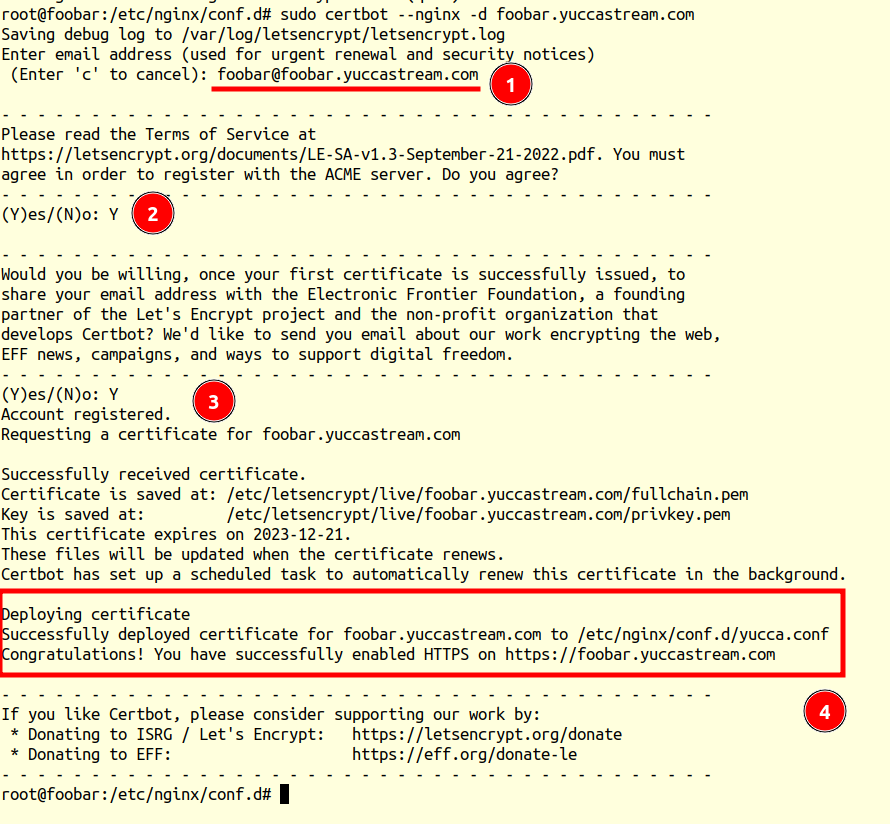
Certbot will ask you to enter your E-mail (1), I recommend entering your real mailbox, if the certificate expires and does not renew automatically Let's Encrypt will send you a notification about this. You will also need to agree to the terms and conditions (2), (3). Next, certbot itself will find the required configuration file with the required domain, configure the SSL section and redirect, and show you a link at the output.
You can see what happened in the end in the file /etc/nginx/conf.d/yucca.conf
upstream yucca_upstream {
  server 127.0.0.1:9910 fail_timeout=0;
}

server {
  server_name foobar.yuccastream.com;
  location / {
    proxy_set_header Host $http_host;
    proxy_set_header X-Real-IP $remote_addr;
    proxy_set_header X-Forwarded-For $proxy_add_x_forwarded_for;
    proxy_pass http://yucca_upstream;
  }

    listen 443 ssl; # managed by Certbot
    ssl_certificate /etc/letsencrypt/live/foobar.yuccastream.com/fullchain.pem; # managed by Certbot
    ssl_certificate_key /etc/letsencrypt/live/foobar.yuccastream.com/privkey.pem; # managed by Certbot
    include /etc/letsencrypt/options-ssl-nginx.conf; # managed by Certbot
    ssl_dhparam /etc/letsencrypt/ssl-dhparams.pem; # managed by Certbot
}

server {
    if ($host = foobar.yuccastream.com) {
        return 301 https://$host$request_uri;
    } # managed by Certbot

    listen 80;
    server_name foobar.yuccastream.com;
    return 404; # managed by Certbot
}
I recommend checking that certbot has created a timer for certificate renewal, it must be active:
sudo systemctl status certbot.timer
● certbot.timer - Run certbot twice daily
     Loaded: loaded (/lib/systemd/system/certbot.timer; enabled; vendor preset: enabled)
     Active: active (waiting) since Fri 2023-09-22 11:54:02 UTC; 7min ago
    Trigger: Fri 2023-09-22 14:13:25 UTC; 2h 11min left
   Triggers: ● certbot.service

Sep 22 11:54:02 foobar systemd[1]: Started Run certbot twice daily.
We update the page http://foobar.yuccastream.com and see that everything works via HTTPS, the redirect also works.
Step 3. Security setup
We configured access via HTTPS via nginx, but Yucca is still available via HTTP at http://foobar.yuccastream.com:9910. This is due to this default setting:
listen_address = ":9910"
Go to the Yucca configuration file and edit this parameter:
sudo nano /opt/yucca/yucca.toml
We make Yucca listen only to localhost:
listen_address = "127.0.0.1:9910"
And restart the Yucca server:
sudo systemctl restart yucca
We check, now there is nothing at http://foobar.yuccastream.com:9910 , but here https://foobar.yuccastream.com everything works.